Tuesday, June 7, 2011

To Fix, But How?

As Husband & I pack boxes, the recycling container fills and the donate pile grows.  One item resists those fates:
The Cafe: Our Bedroom Breakfast Nook.
A few years ago, when Husband & I moved into our first apartment with an outdoor area, family members gave us a beautiful patio set.  The box called the table and two chairs something like "Bistro;" I loving christened the metal and ceramic mosaic set "The Cafe."  It's served us as a lazy afternoon hang out spot on one porch, as my outdoor desk on a different apartment's porch, and most recently as our breakfast nook in our bedroom.

Unfortunately, The Cafe is beginning to show some wear from years of love.


The cardboard fix.
First, one chair's ceramic mosaic tile abruptly popped out and shattered.  Armed with glue and determination, I tried to piece it back together.  After a half hour of creating two more shards every time I reconnected one, I opted for another approach.  I took a careful up-close picture of other chair's unbroken mosaic.  Guestimating the size, I printed a non-glossy color copy and glued it onto cardboard circle.  Presto.  An indoor fix that lasted well for about 10 months before it began to fade a little.


Then the other chair dropped its mosaic.  Luckily it only broke into a few pieces and was easily repaired.  Unfortunately it fell out again last week.  While the piece remained whole, I doubt another glueing will last long, especially if exposed to humidity and temperature fluctuations.  The cardboard solution, too, is about to expire.  Our new apartment boasts a porch so The Cafe will take up residence once again in the great outdoors (read: elements).  I need a new solution.  
With moving preparations eating up my mental energy, I'm not sure what to try next.  Your thoughts? 


Monday, June 6, 2011

How to Move Without Forgetting to Pack Your Brain

Moving week is upon the Ramsey household.  Flattened boxes emerge from hiding places in the back of closets, tucked behind dressers, and in other boxes.  Husband & I transform 2D cardboard into 3D containers; we add packing tape to the grocery list.

Sherbet takes a break from jumping into every single box we assemble.
This is our sixth move as a couple--fifth without professional help.  To handle the vast amount of labor and details required, I rely on organization.  Here are some of my key survival tips to make sure you don't lose your mind while boxing up everything else.

  1. Designate an information/planning spot for important papers and lists.  We use a clipboard and leave it on the dining room table.  Lease information, rental truck contracts, calendars, floor plans, etc. find a temporary home here.
  2. Create a daily plan of attack.  Break your home into zones and begin boxing the non-everyday-use stuff first.  For us this means the storage closet and the bookshelves.  Counterintuitively, I leave decorations on the wall until the very end.  This way my messy, box-infested home is a little less warehouse-like during the moving process. Besides, decorations tend to be fragile, and fragile boxes should be on the top of the piles, right?
  3. Write a "Change of Address" chart.  Include bills, subscriptions, doctors, etc.  Call a few each day, noting "Date Contacted" and leaving a space to record "Date Verified" when you receive updated information from them at your new address.  When 90% of the address switches are made before your move date, you feel accomplished about something and have more energy to deal with the frustrating ones later (driver's licenses, anyone?).  Also, it's a nice excuse to take a break from filling boxes and prop your feet up while you make some phone calls or send some emails.
  4. Get rid of everything you don't use, don't like, and can easily live without.  Lighten your moving load, declutter your new home, and often get a tax-deductible receipt.
  5. Implement a strict labeling policy for boxes.  I prefer color coding.  Each room in the new location receives a color (ie: kitchen = green, living room = yellow).  Boxes are tagged with the color of which room they will move into.  On the colored label I list the specific contents.  Since I hang colored labels on walls during move-in anyone helping can easily determine where a box should be placed.  Bonus hint: I usually make one wall in the living room for the living room color and one for the kitchen color--this way I can maneuver in the kitchen when unpacking.
  6. Unless this move is permanent (like buying a house) or you're guaranteed professional assistance for your next relocation, save all reusable packing materials.  Standard size boxes expedite packing a truck; packing paper not only protects items, but fills in those odd "what-else-should-we-cram-in-here" spaces that lead to extreme disorganization on the unpacking end.

For even more moving tips.

What moving tips to have you discovered?

Friday, June 3, 2011

Sari Dress: Completion (Part III)

While it only took a little longer than a week to make the sari dress, this final post about the dress ended up procrastinated.  I'd like to blame this delay on photography and finicky sunlight, but honestly I'm hesitant to be the model showing this dress.  My doctors assure me the recent weight gain is healthy--so much so I should keep gaining for a few more months.  Still, I'm finding myself a little camera shy as this "plump is pretty" phase continues.

The sari dress: from inception through creation toward completion!


After a few days of sewing recovery, I spent one morning eliminating the bulk of the original tube dress.  I ripped out some seams; I hacked off another foot or so of the sari.  No measuring, but I did iron before sewing a seam to keep the fabric from fraying.  By hand, I whip-stitched the inner side of the green edge to the plum wine edge to close the tube.

Another "fitting" in front of my bedroom mirror.  I couldn't get over how the ribbon (originally intended for straps) still created such a perfect empire waist by simply tying it around me.  With the extra fabric gone the potato sack look disappeared and a flattering dress emerged.  The forest green material, however, limply cascaded to the floor.  The sari dress still needed a little more flare, and I didn't need a tripping hazard.

So far, no dress pattern meant infinite possibilities, but now I grew uncertain about what to do with the forest green flap hanging down my right side.  The evolvement of the ribbon-cinched empire waist nixed my previous ideas of turning the green section into an apron-like overlay, a twisted bust-line, or an over-the-shoulder drape.  Husband grew quiet as I rambled awkward solutions.

It was time to risk some help.  

A few days later I donned the unfinished dress, along with fancy jewelry and gold shoes, for Mom's critical eye.  Despite her original hesitancy about taking scissors to such a exquisite piece of fabric, Mom instantly wanted to help design the in-process sari dress.  I posed in front of the mirror; Mom moved the fabric around.  When she folded up the top of the green end under my arm, the angled fabric gracefully fell around my figure.  We both knew the next design phase: a pleat at the top of the forest green swag.

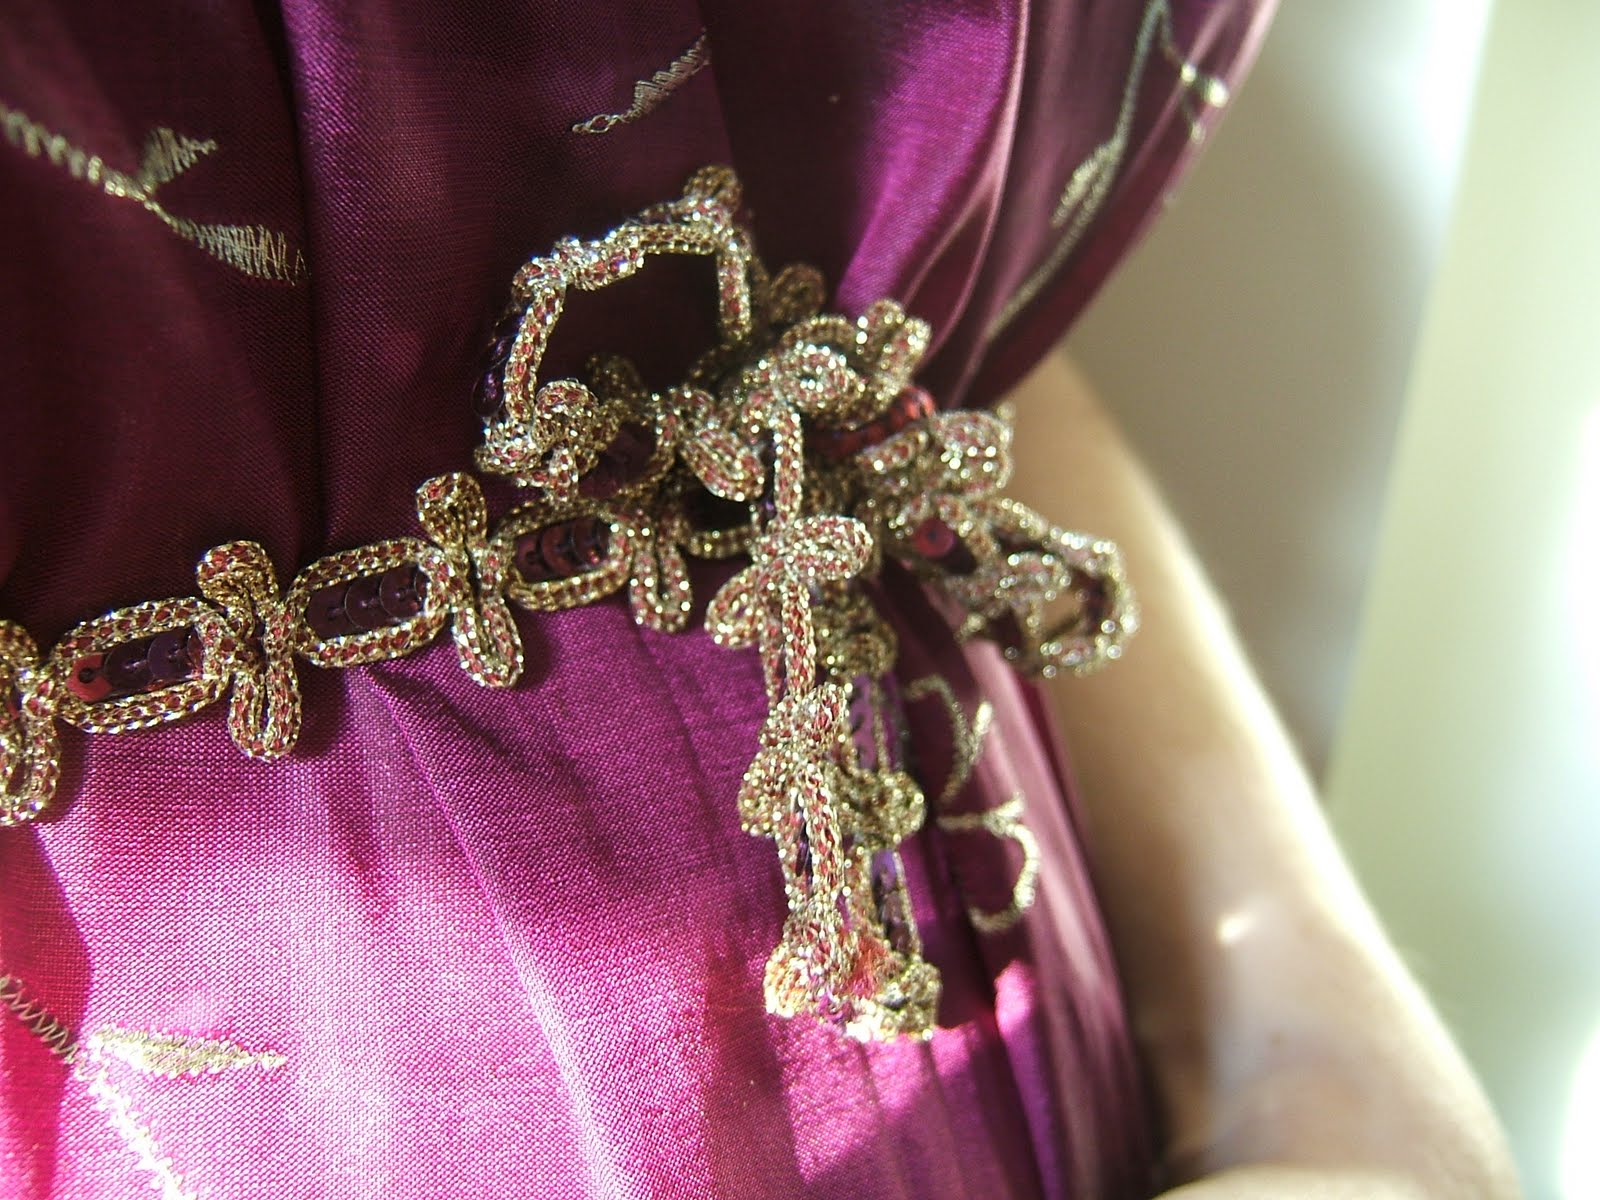
Excited to implement this pleat, Mom saved me from laboring through more sewing by efficiently zipping the sari through her modern sewing machine (one with electricity and a foot pedal).  When I tried the dress on again she suggested adding a little more practicality: straps.  We pulled out the leftover sari and snipped off a bit of the plum wine, past the gold embroidery.  After a game of fabric pinching and pinning, Mom designed straps that mimicked the soft gathered look of the dress.


While I enjoyed sole designer status as I conceptualized and began the sari dress, finishing the dress with Mom's creative input and sewing expertise actualized a vivid sari into a one-of-a-kind special occasion gown.

The front of the dress: plum wine and gold.


The back of the dress: plum wine meets forest green.

Beautiful gown with room to grow.

PS.  I left the antique sewing machine at Mom's....

Thursday, June 2, 2011

Parking Signs: Solution Posted

Still pondering the parking sign dilemma from earlier this week?  Now check back to see the solution to this drama.

Wednesday, June 1, 2011

Construction Complete

Take a second to test your street (sign) smarts with yesterday's pop quiz.  Solution forthcoming.

It's not every day iPhoto asks you a question like this:


Um, yes, OK!  For the second time actually .... 

Since March, Husband & I weeded the photo collection-- originally @5873 pics plus rediscovered kitten photos (@200) and this Spring's snapshots (@350)--by 53.4%.  It doesn't matter now the digital photo project finished up a month behind my arbitrary deadline.  Our collection looks amazing!  Now only the most meaningful photos await the next step: scrapbook selection.

What accomplishment, little or large, are you celebrating today?